Where to find this: Services → Integrations tab
What This Integration Does
Bizzly is a subscription management and booking platform for service businesses. The HubSpot integration connects your Bizzly account to your HubSpot portal so that:
- Contacts are created automatically in HubSpot when a visitor submits a contact form or service form on your Bizzly website
- Support tickets are created in HubSpot when a service/enquiry form is submitted
- Emails are logged on the contact's HubSpot timeline every time Bizzly sends a booking confirmation, reminder, subscription notice, or any other communication
- SMS and WhatsApp messages sent by Bizzly are also logged on the contact timeline
- The HubSpot tracking script is automatically injected into your Bizzly website
<head>, enabling page-view tracking in HubSpot - Contacts are viewable inside Bizzly admin under Services → Customers, so you can browse your HubSpot CRM data without leaving the platform
Install the App
Option A — Onboarding Wizard (Preferred)
The fastest way to connect HubSpot is during initial account setup. The onboarding wizard guides you through all integrations in one flow, and HubSpot is Step 3.
- Sign in to your Bizzly account at https://www.bizzly.net
- In the main navigation, click Services → Onboarding tab → Setup Wizard
- Work through Steps 1 and 2 (Payments and Calendar) — you can skip either if not ready
- At Step 3: Connect CRM, click Connect HubSpot CRM
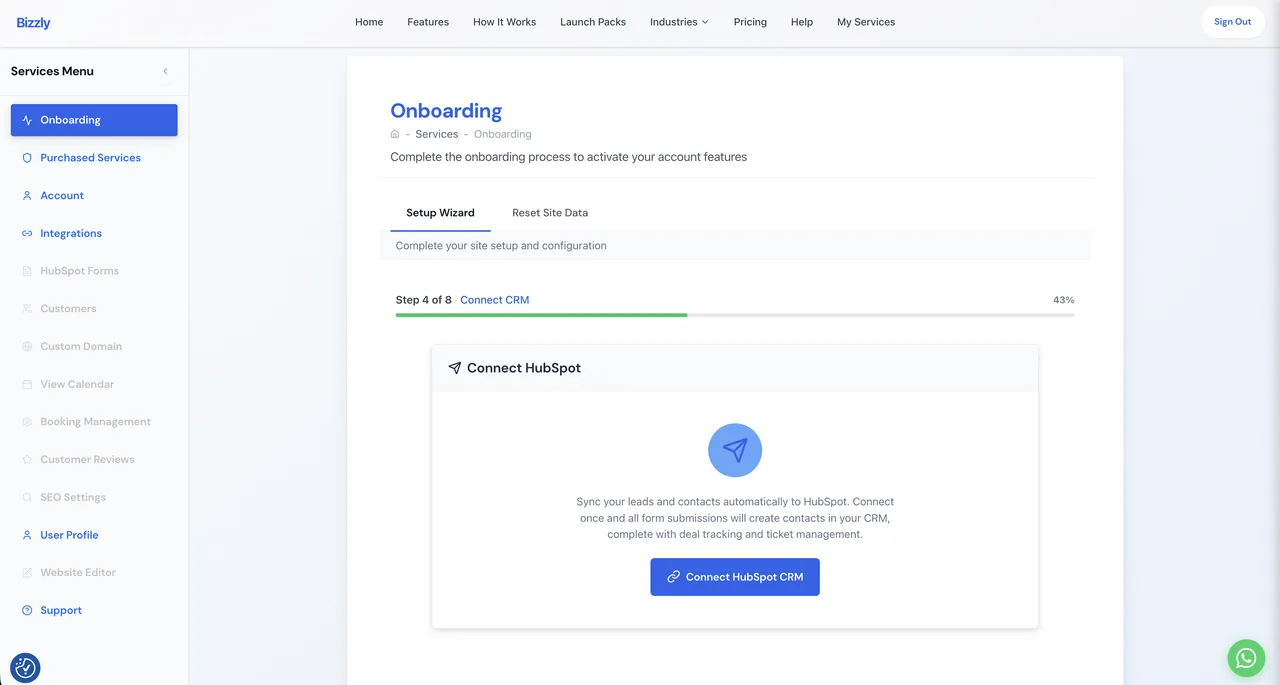
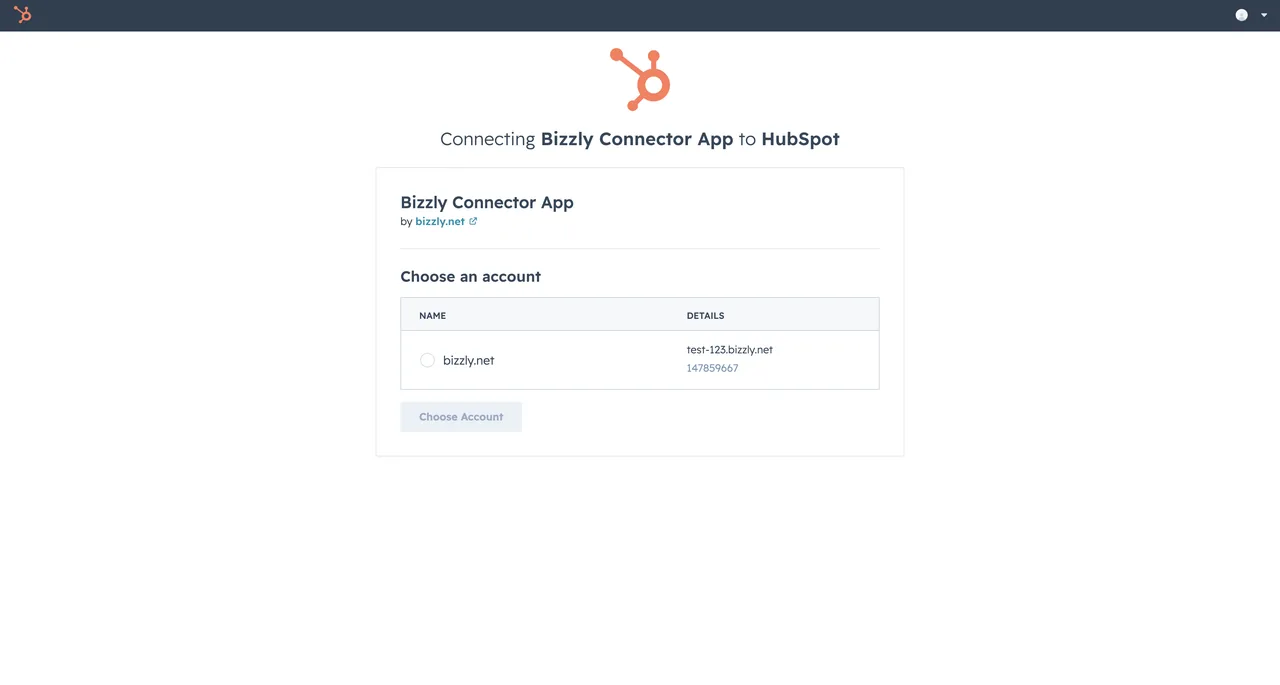
- You will be redirected to HubSpot's OAuth authorisation screen — sign in to your HubSpot account if prompted
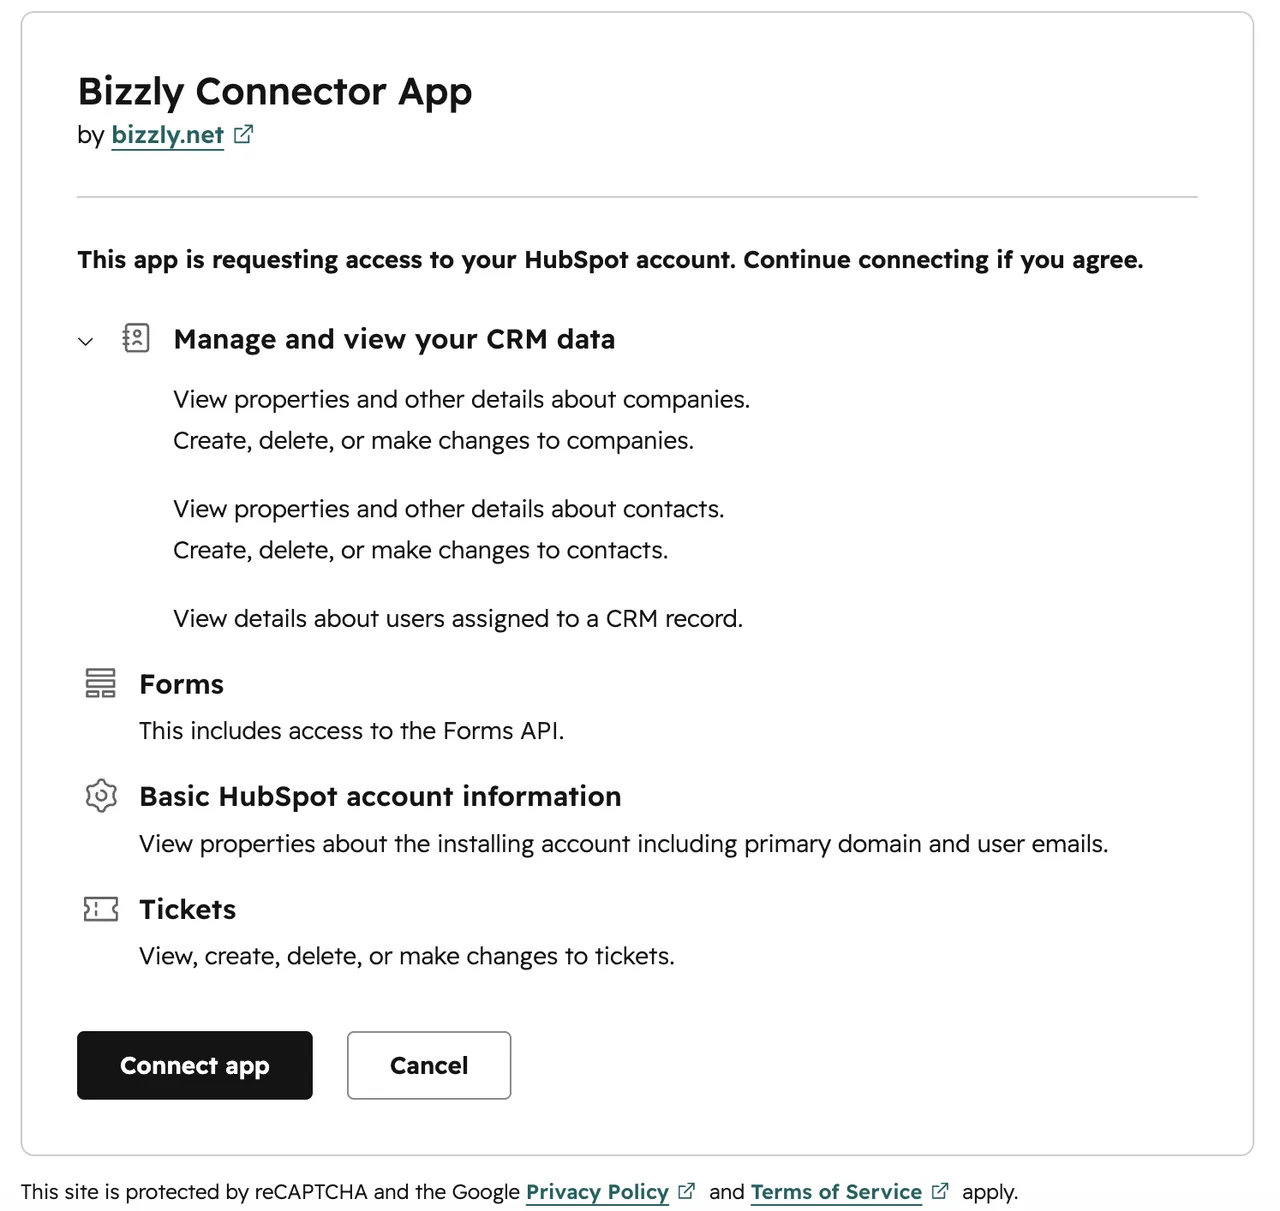
- Review the permission scopes and click Connect app
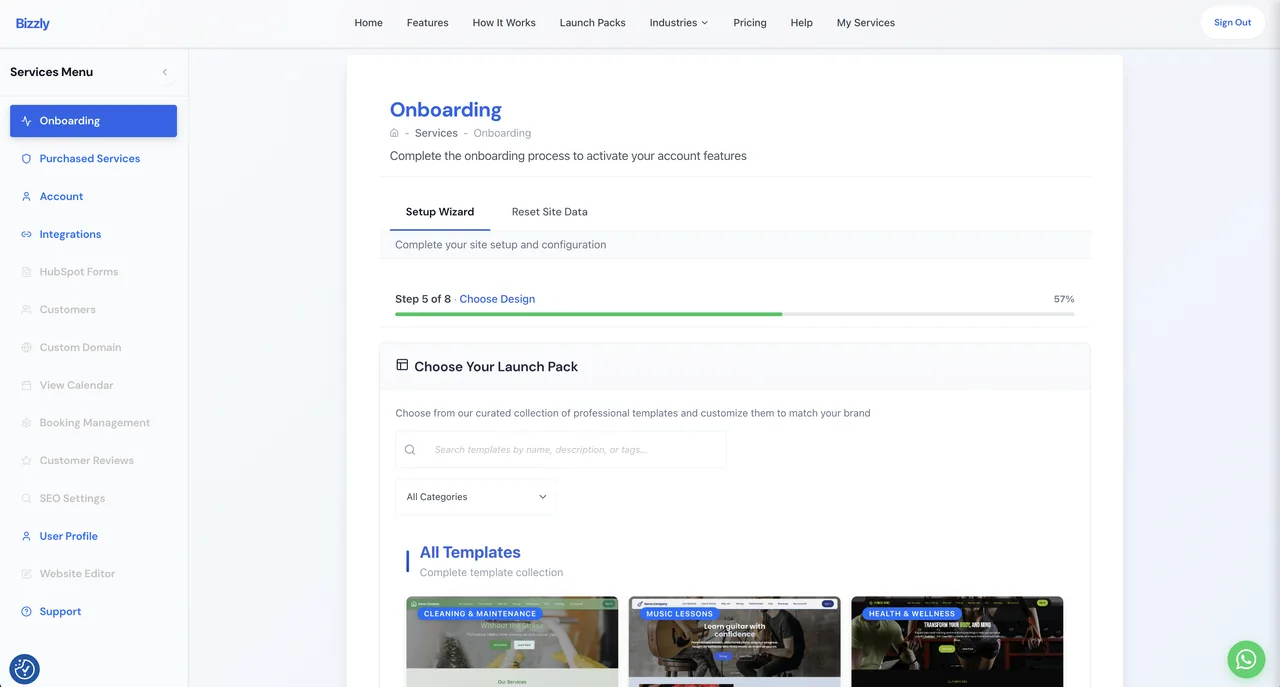
- You will be redirected back to Bizzly and the wizard automatically advances to the next step
If you want to connect HubSpot later, click Skip at Step 3 and return via Services → Integrations when ready.
Option B — Connect from the Integrations Tab
- Sign in to your Bizzly account at https://www.bizzly.net
- In the main navigation, click Services
- Select the Integrations tab
- Locate the HubSpot tile and click Connect
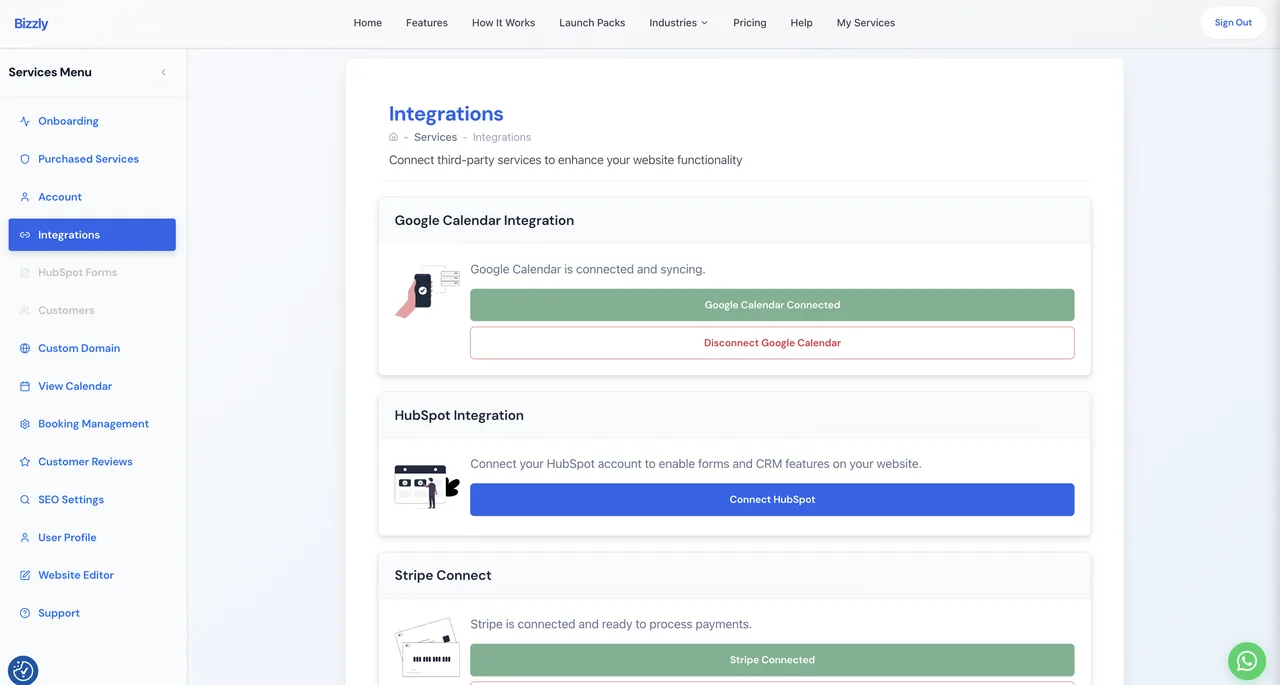
- You will be redirected to HubSpot's OAuth authorisation screen — sign in to your HubSpot account if prompted
- Review the permission scopes listed on the screen and click Connect app
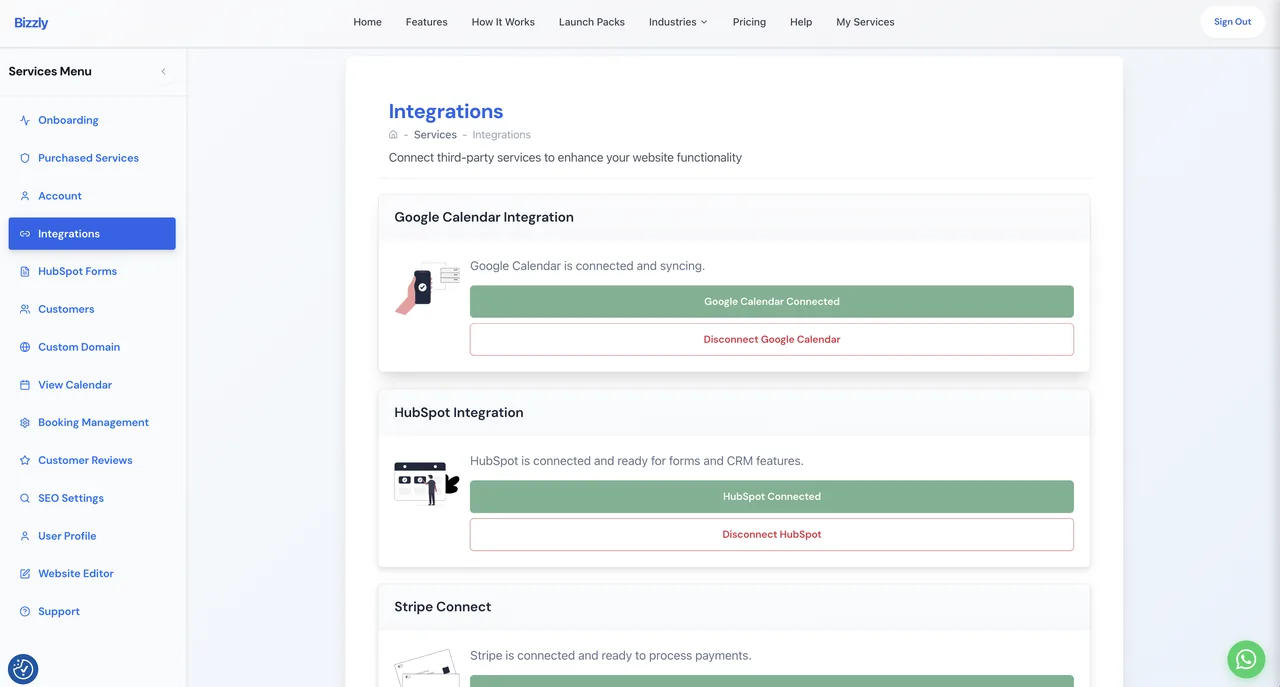
- You will be redirected back to Bizzly. The HubSpot tile will display Connected in green, showing your hub domain
Option C — Install from HubSpot Marketplace
- Find the Bizzly listing in the HubSpot App Marketplace and click Install
- HubSpot will redirect you to
https://www.bizzly.net/hubspot-install— sign in to Bizzly if prompted - Bizzly generates a secure one-time state token and redirects you back to HubSpot
- HubSpot displays the OAuth consent screen — review the scopes and click Connect app
- Bizzly completes the token exchange and saves the integration
- HubSpot shows its install-success confirmation
Expected result: Whichever option you use, the HubSpot tile in Bizzly (Services → Integrations) shows Connected with your hub domain. Bizzly automatically detects your HubSpot region (NA or EU) and routes all API calls accordingly — no manual region configuration is needed.
Permission Scopes Requested
Configure the App
Set Up a Contact Form
A contact form lets website visitors get in touch. Submissions create or update a contact in HubSpot.
- In Bizzly admin, click Services → HubSpot Forms tab
- Under Contact Form, choose one of the following:
- Select existing form — pick a form from your HubSpot portal using the dropdown and click Save
- Create new form — click Create New Contact Form, give it a name and field configuration, then click Create. The new form is automatically selected.
- The form will appear on your Bizzly website at
https://your-domain.bizzly.net/contact
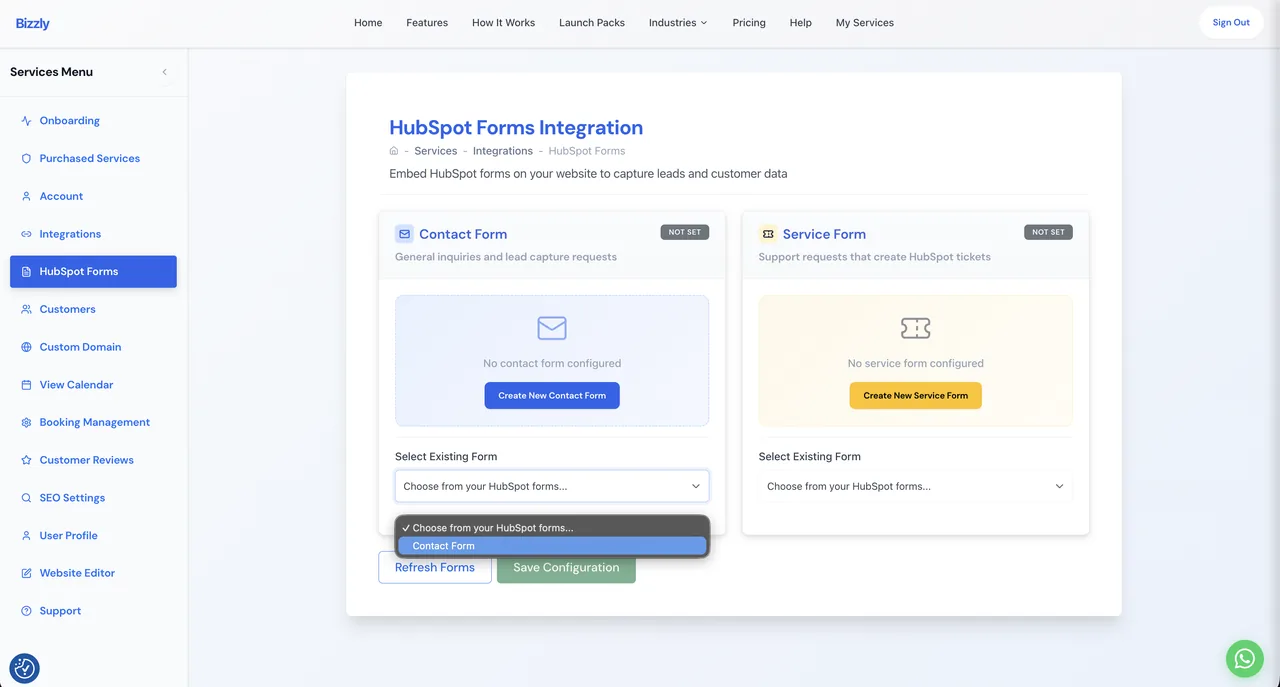
Set Up a Service Form
A service form captures enquiries or support requests and creates a ticket in HubSpot.
- In Bizzly admin, click Services → HubSpot Forms tab
- Under Service Form, use Select existing or Create New Service Form (same flow as Contact Form above)
- Once configured, signed-in customers can submit the form via My Account → Support on your Bizzly website

Remove or Switch a Form
- Click Remove on the active form to clear the selection
- Once cleared, the dropdown and Create New button become available
- Select a different form and click Save to switch
Use the App
Once connected and configured, the integration runs automatically. No manual steps are required for day-to-day operation.
What Happens Automatically
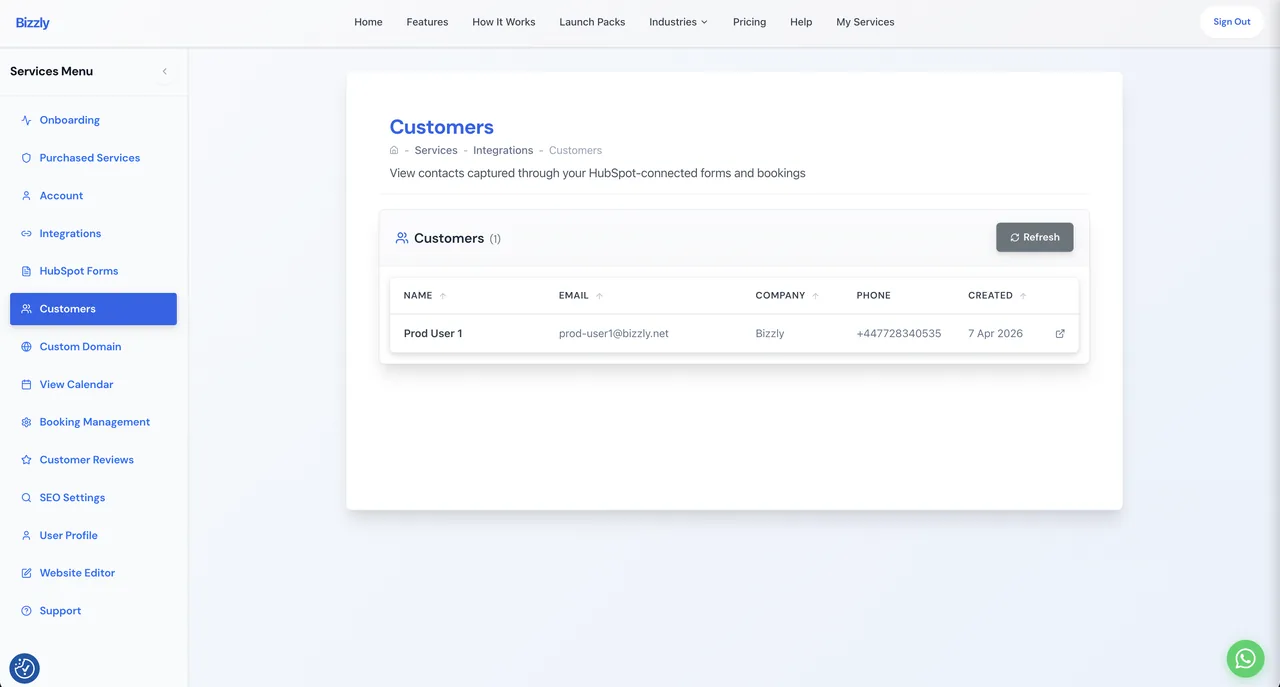
Viewing Contacts in Bizzly
- Go to Services → Customers tab
- The panel loads your HubSpot contacts directly, showing Name, Email, Company, Phone, and Created date
- Click View in HubSpot on any contact to open the full record in HubSpot
- Use the Refresh button to reload the latest contacts at any time
Viewing the HubSpot Tracking Script
To confirm the tracking script is active on your website:
- Navigate to your Bizzly website (e.g.
https://your-domain.bizzly.net/) - Open browser DevTools → Elements and find
<script id="hs-script-loader-main">in the<head> - The script src will be
//js-eu1.hs-scripts.com/{your-hub-id}.js(orjs.hs-scripts.comfor NA portals)
Disconnect the App
Disconnecting Bizzly from HubSpot does not delete any contacts, tickets, or activity records from HubSpot. All previously synced data remains intact.
To disconnect from Bizzly
- In Bizzly admin, go to Services → Integrations tab
- Click the Disconnect button on the HubSpot tile
- Confirm the disconnection in the modal
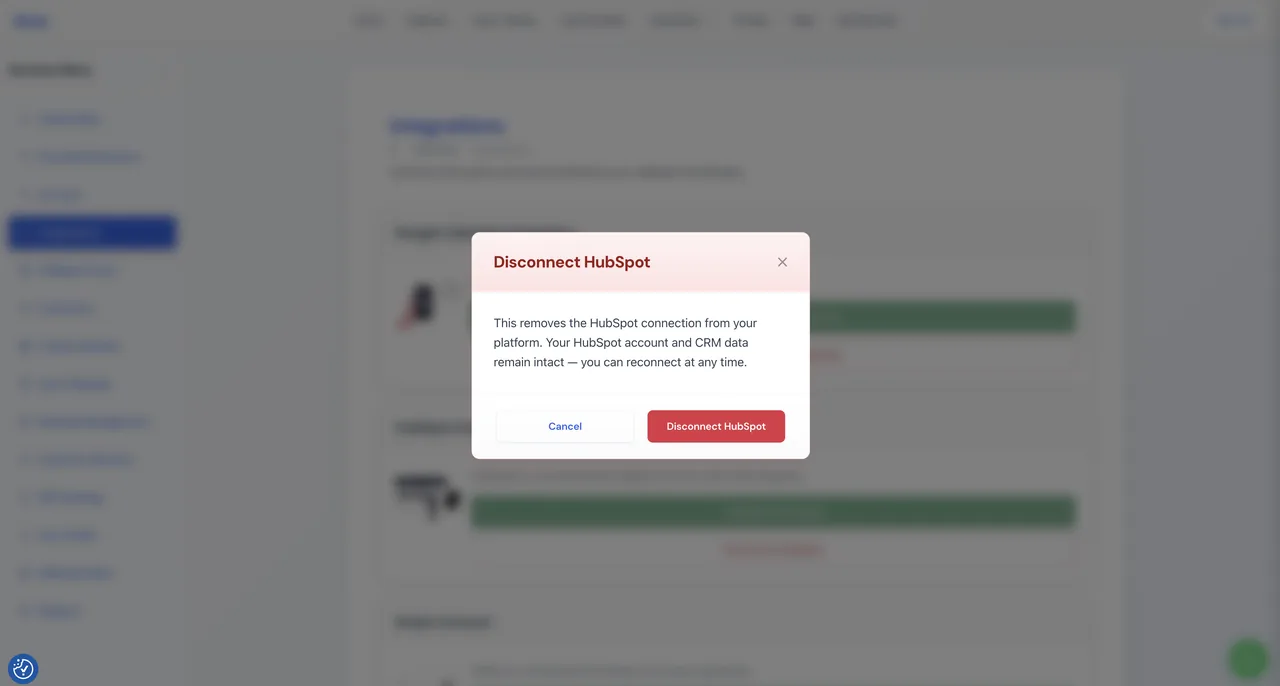
- The tile reverts to Not connected
What stops working after disconnecting:
- The HubSpot tracking script is removed from your website
<head> - New form submissions no longer create or update contacts in HubSpot
- New communications (email, SMS, WhatsApp) are no longer logged to HubSpot timelines
- The Customers tab will no longer display contacts
What is not affected:
- All existing contacts, tickets, and activity records remain in HubSpot
- Existing form configurations in Bizzly are preserved — they will resume working if you reconnect
To reconnect
Click Connect on the HubSpot tile and complete the OAuth flow again (same as install). All functionality resumes immediately.
Uninstall the App
To fully uninstall the Bizzly app from your HubSpot account, follow HubSpot's standard uninstall process:
- In HubSpot, click the Settings icon (gear) in the top navigation
- In the left sidebar, go to Integrations → Connected Apps
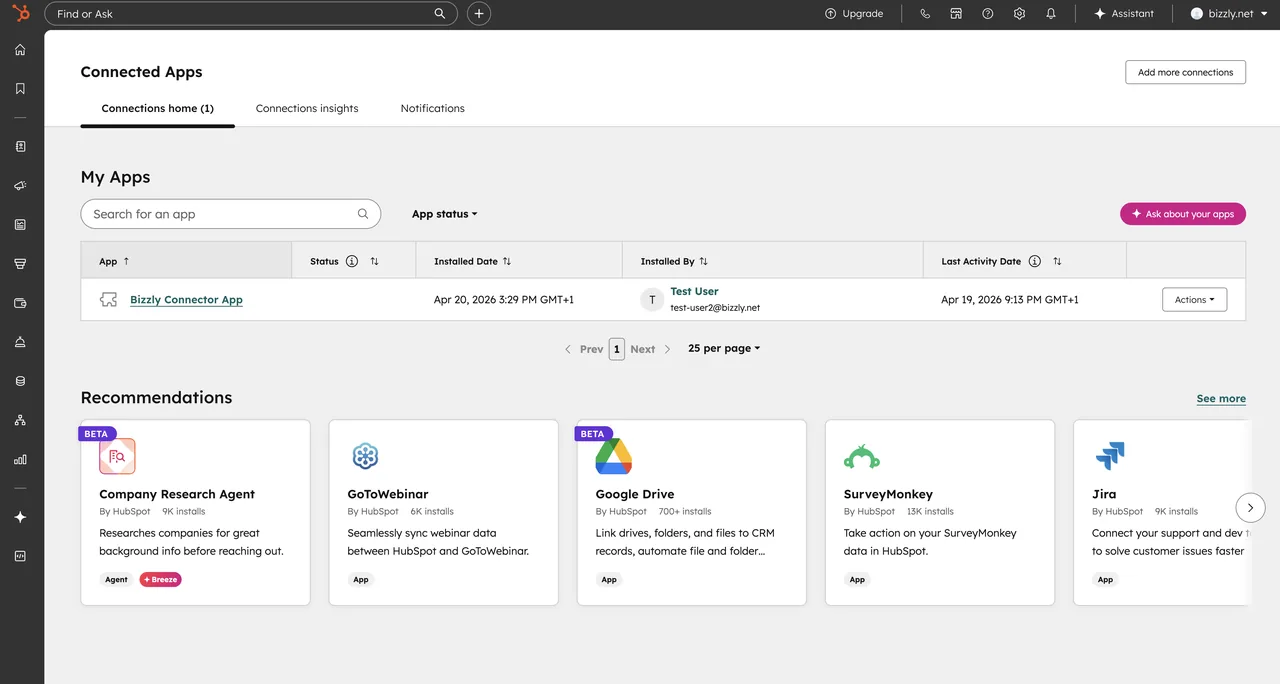
- Find Bizzly in the list
- Click Actions → Uninstall
- Confirm
Alternatively, see HubSpot's guide to uninstalling apps.
Uninstalling Bizzly from HubSpot revokes the OAuth tokens, which will also disconnect the integration on the Bizzly side. No data is deleted from HubSpot — all contacts, tickets, and timeline activity records are preserved. If you reinstall, you will need to reconnect via Services → Integrations → Connect.